
Github Action配合Hexo持续集成博客
通过Hexo写博客,根据Hexo文档安装hexo并且找一个自己喜欢的主题,部署在GitPage上,节省我们自己的服务器资源
新建Github仓库
新建github仓库,如hexo-blog ,仓库如果要部署gitpage不能选择private。
新建Hexo目录
1 | hexo init hexo-blog |
正常配置hexo和hexo主题并开始写作,写作完成后:
如果你的主题文件夹theme中有.git文件夹,请将其删除后再push代码
1 | git init |
新建Git Page仓库
在Github中新建一个仓库,仓库名为:
1 | <你的Git用户名>.github.io //用户名 |
至此准备工作完成,hexo-blog仓库存放博客的源码,xxx.github.io仓库存放打包生成的静态资源,下边开始配置CI
配置hexo deploy
添加hexo的git deploy依赖:
1 | npm install hexo-deployer-git / yarn add hexo-deployer-git |
在hexo-blog根目录的_config.yml文件中找到deploy字段并添加:
type为git(必须是git)
repo是要发布的repo的地址
1 | ... |
配置Github Action
GithubAction的文档
配置workflows
在hexo-blog项目根目录下创建一个.github\workflows结构的目录,然后新建一个yml文件:
1 | cd path/hexo-blog |
然后我们编辑main.yml:
1 | name: Deploy #随便取 |
配置SSH key
因为是,在hexo-blog的仓库中提交代码然后构建到了xxx.github.io的仓库中,所以需要把SSH key配置在执行action的ubuntu环境中
首先在命令行中执行:
设置filename的时候建议设置为github_id_rsa或者其他名称,以便区分
1 | ssh-keygen # 生成的key默认在~/.ssh/github_id_rsa,windows在C:/User/<username>/.ssh/github_id_rsa |
然后将公钥上传到github的ssh key中:点我直达配置页
选择New SSH key
title : 任意填
key: 用记事本或编辑器打开github_id_rsa.pub,将里面的文本粘贴进去.
配置Action Secrets
由于workflow的文件是在代码仓库中,脚本中的内容是对仓库可见的,如果我们将一些隐私内容直接明文写在文件中,会被泄露。所以github提供了Action secrect来帮我们存放敏感信息。在Actions中通过$<!–swig14–>即可获取
进入blog-hexo的repo中,点击settings,然后在侧边栏选择Secrets-Actions
然后选择New repository secret
name中填写HEXO_DEPLOY_PRI
value将github_id_rsa的内容复制后粘贴进去即可
至此github Action的配置就完成了,可以尝试更新hexo-blog的代码并push到github,然后观察Action中job的执行情况.
然后访问xxx.github.io即可查看效果。
这里不建议将本机正在使用的ssh密钥对上传到github中,尤其是私钥.
到这里配置就完成了,后文是一些知识点的补充,可选择阅读
补充阅读
main.yml中的Setup Deploy Private Key
1 | - name: Setup Deploy Private Key # 给ubuntu环境添加ssh的私钥,先按这里填,后边单独讲 |
拆分理解
1 | mkdir -p ~/.ssh/ |
创建.ssh文件夹
1 | echo "$HEXO_DEPLOY_PRIVATE_KEY" > ~/.ssh/id_rsa |
读取环境变量$HEXO_DEPLOY_PRIVATE_KEY的值,并将其写入id_rsa中 , 其实这步操作约等于我们在本地生成ssh key并将公钥上传到github的ssh key中,只是顺序对调了而已。
1 | chmod 600 ~/.ssh/id_rsa |
设置文件权限为拥有者可读写,其他人不可读写执行
1 | ssh-keyscan github.com >> ~/.ssh/know_hosts |
收集github.com的公钥并将其写入know_hosts,避免被openSSH警告
将Gitpage解析到自己的域名
在购买域名的服务商中添加新的CNAME解析,解析值填为:xxx.github.io (你的gitpage的访问地址)
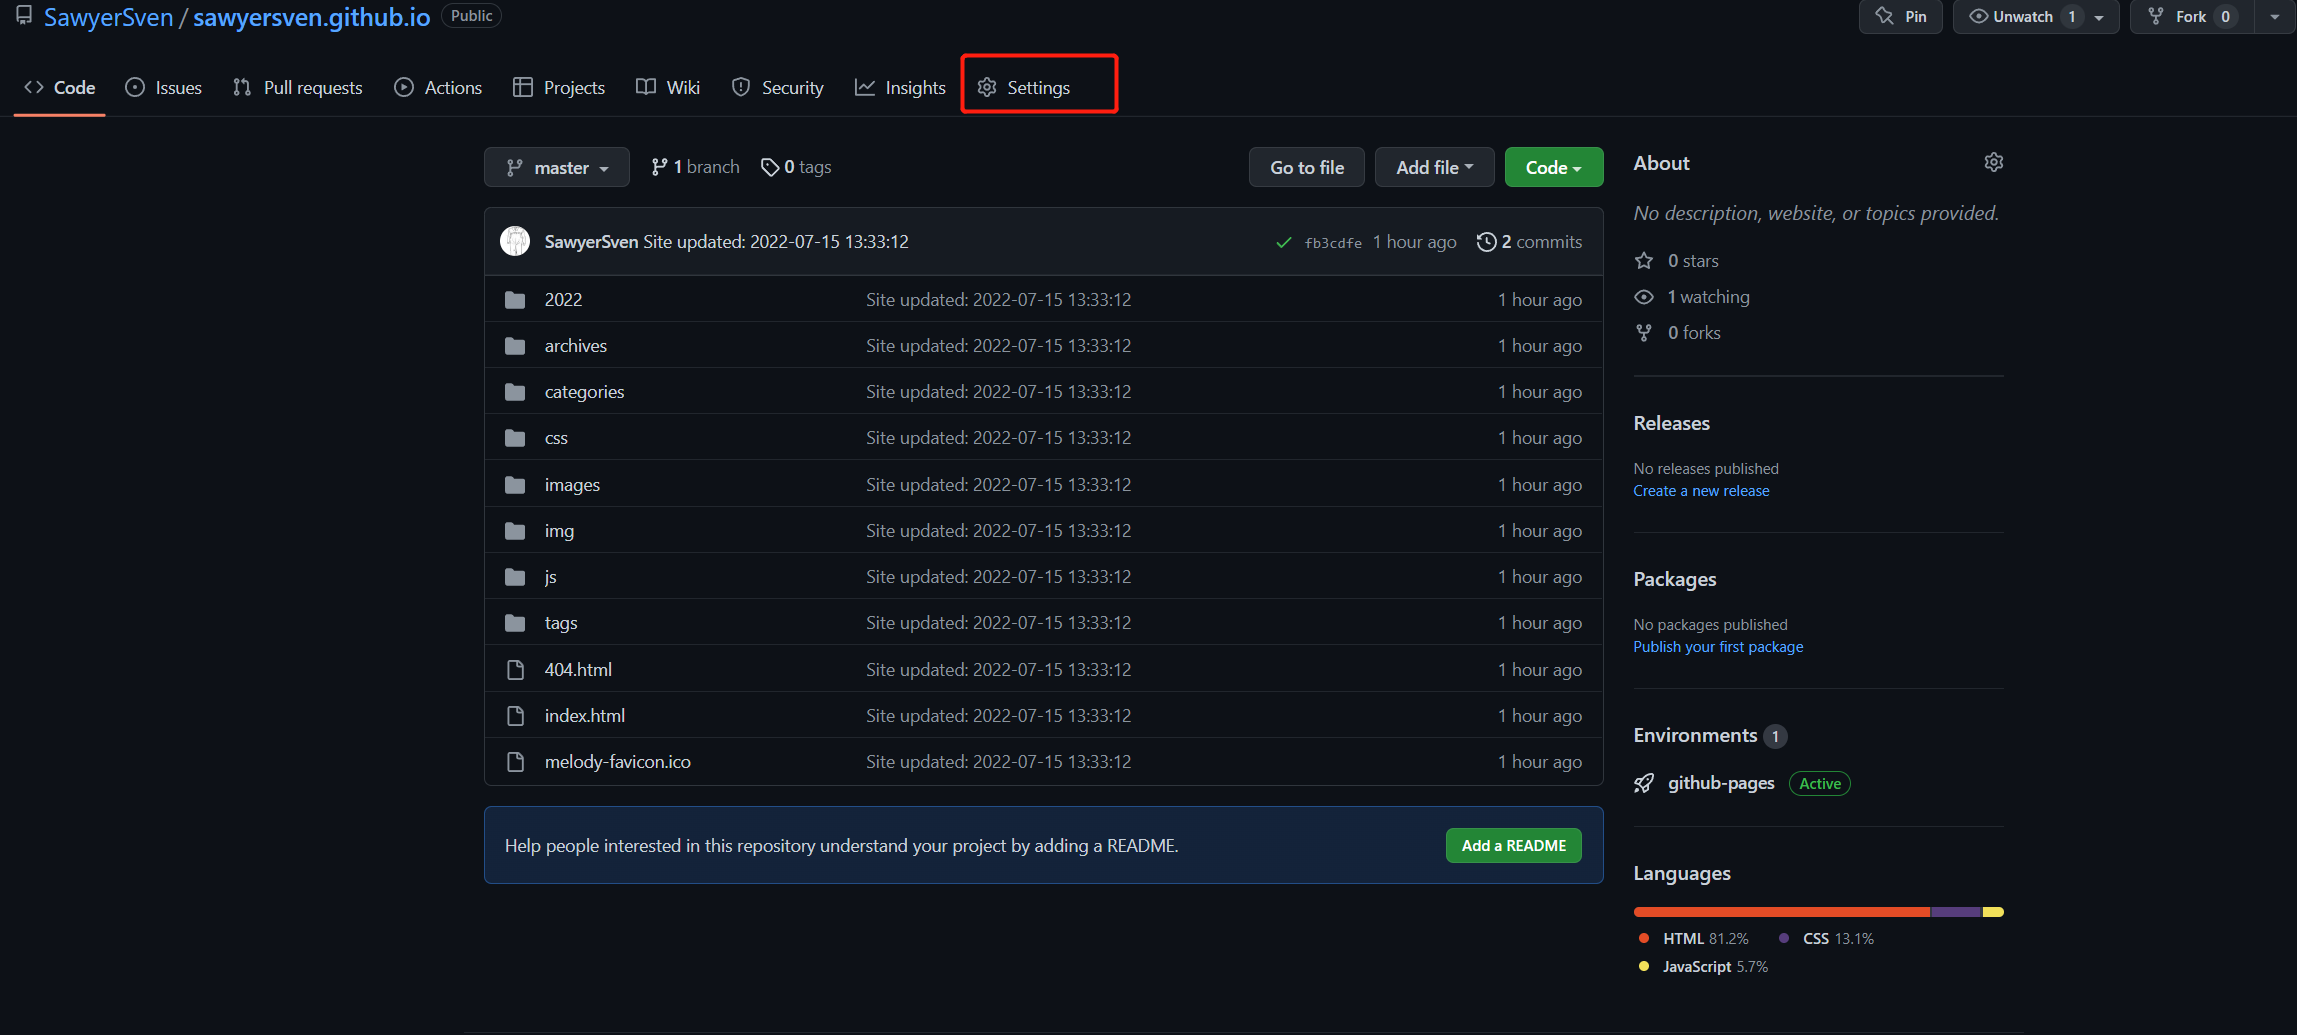
进入gitpage的仓库,并点击settings
在custom domain中填写刚才解析的地址,github会校验域名的解析是否是gitpage,如果是就会successful.
这个时候访问你解析的地址,就可以看到你的Github Page被解析过去了。
CNAME文件
发现每次提交以后设置的Customer domain会被清除掉
所以使用CNAME文件维护
在hexo-blog的source文件夹下创建一个CNAM的文件,内容如下:
1 |
|
然后每次deploy后就不用手动调整custom domain了